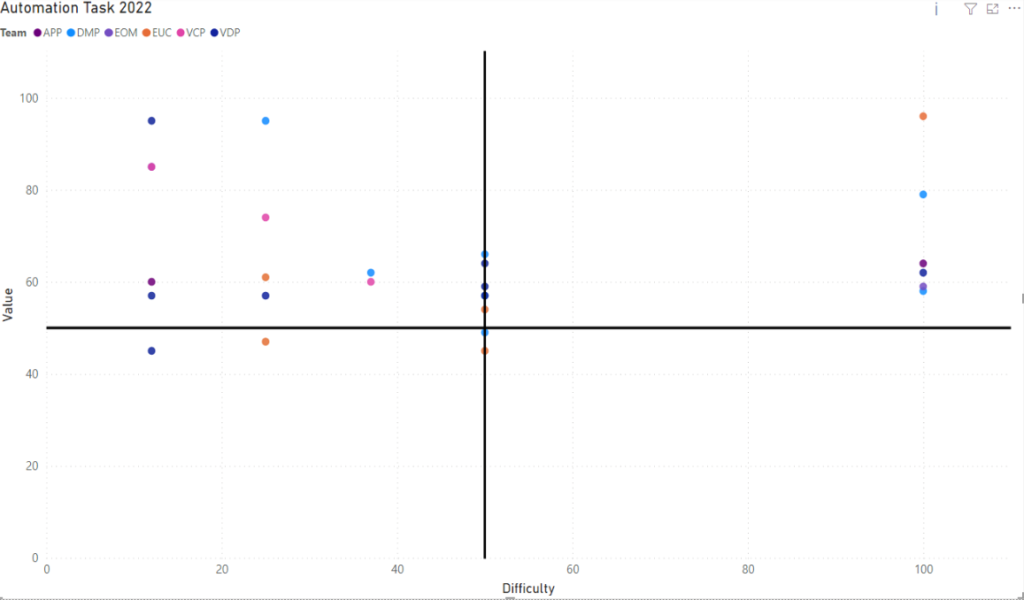
In an previous post we created an intake process for Dev Request and funneled it to a data source. This read will explain a key business tool as a part the dev request process. PICK. This simply gives us some guidance on a thing. Possible, Implement, Challenge and Kill. We can easily set this up in Power BI. Let’s get automating!
Grab that data source (in previous reads I am using SharePoint, and drop it in Power BI. Be sure the Data Types are all correct or it can cause some issues. Check both the Data tab as well as Power Query to make sure that all fields are of the correct data type e.g., Number are numbers and not text.

Create a scatter chat from the visualization pane

Define your fields as so:

if you’ve constructed the values correctly on the data source side then you should have some visible data points. Refer to my other post on creating the data source if things don’t look right. You can also do the same calculations explained in Power BI if you wanted to have Power BI do the lifting and not calculate within the source. To give it some pizazz create some labels, textboxes, and colors to help fill in the background.

If you are familiar with the PICK process, hopefully you found this to be a useful exercise. If not, PICK is very much a worthwhile thing. Learn it, use it! With the data now pulled into Power BI, we can add even more context down the road. Make this your own an make it your friend. Power BI knows no boundaries.


